

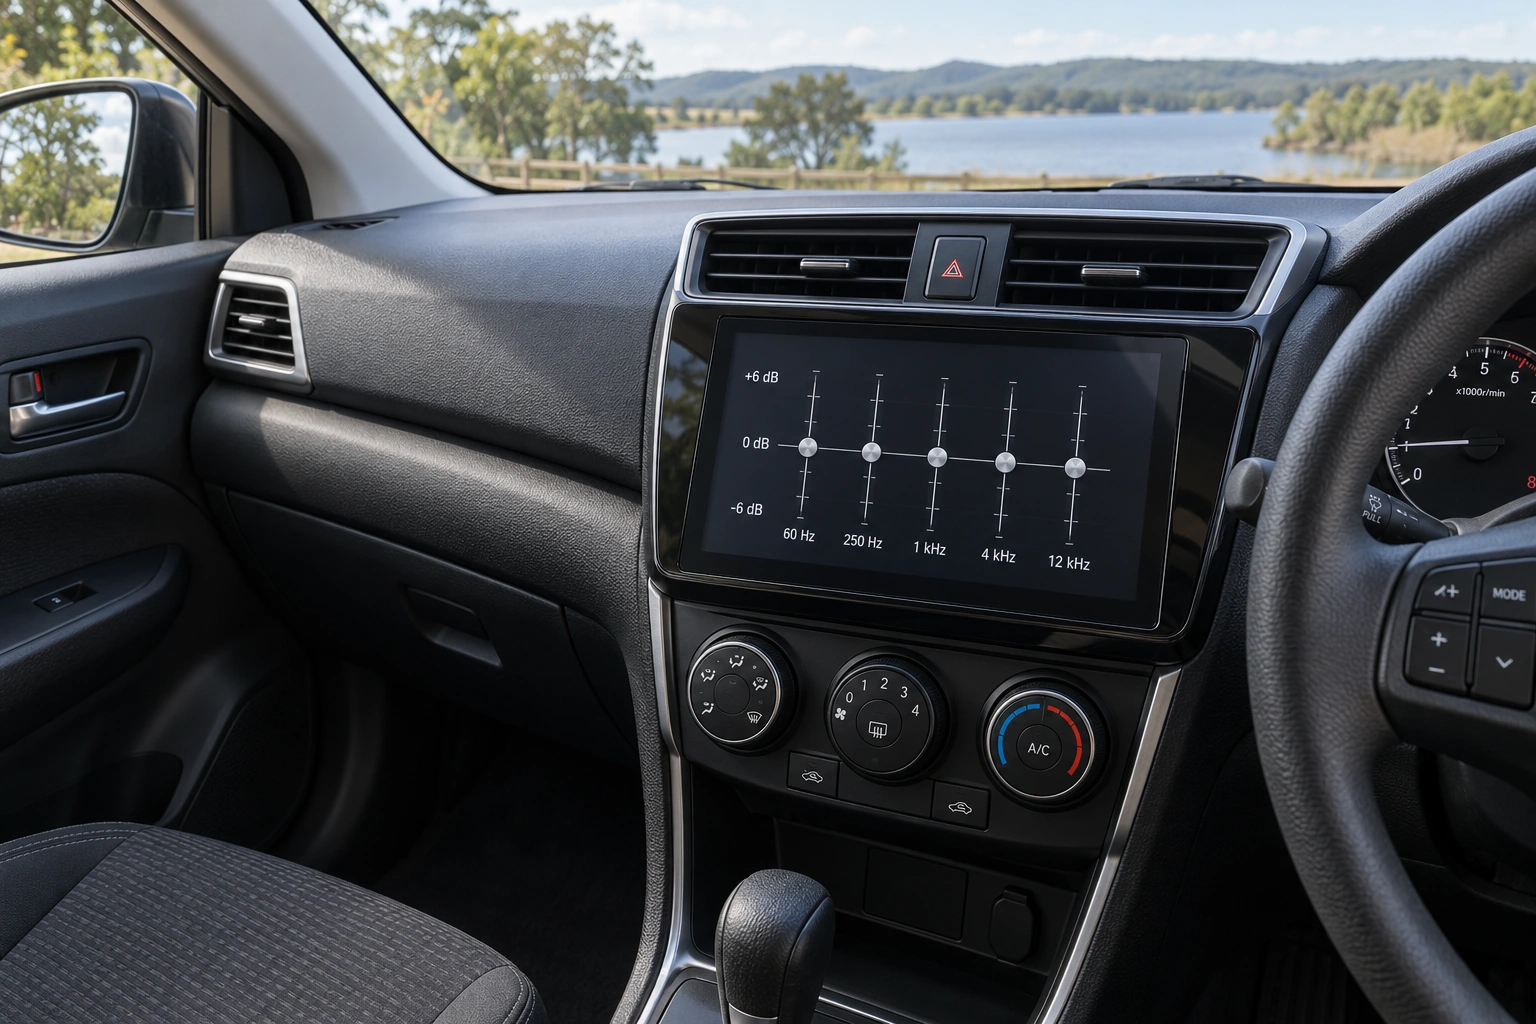
Car-audio equalizer adjustment is easier to understand when the starting state is clear. Begin with a neutral reference appropriate to the equipment, use the same audio source and change one small part at a time. This makes changes easier to assess and lets you return to the starting point when an adjustment is unhelpful.
The goal is not one ideal curve for every car. Cabin layout, speakers, seating position, source material and listener preference can differ. Make adjustments while safely stationary so attention is not divided between audio menus and the road.
Record the complete starting state
Before changing EQ, note the preset, balance, fader and other active settings. Identify additional effects, bass enhancement or processing in the source application. An EQ change can be difficult to assess when several other processes change at the same time.
Choose a familiar recording section that can be replayed from the same point. Use material with vocals and instruments you recognise. Avoid comparing two services at different sound levels and attributing the whole difference to EQ.
Keep the listening volume comfortable and consistent. A louder result may seem more appealing without having a better balance. If distortion or a mechanical noise appears, do not keep increasing gain to conceal it; the cause needs a suitable check.
Save a neutral baseline
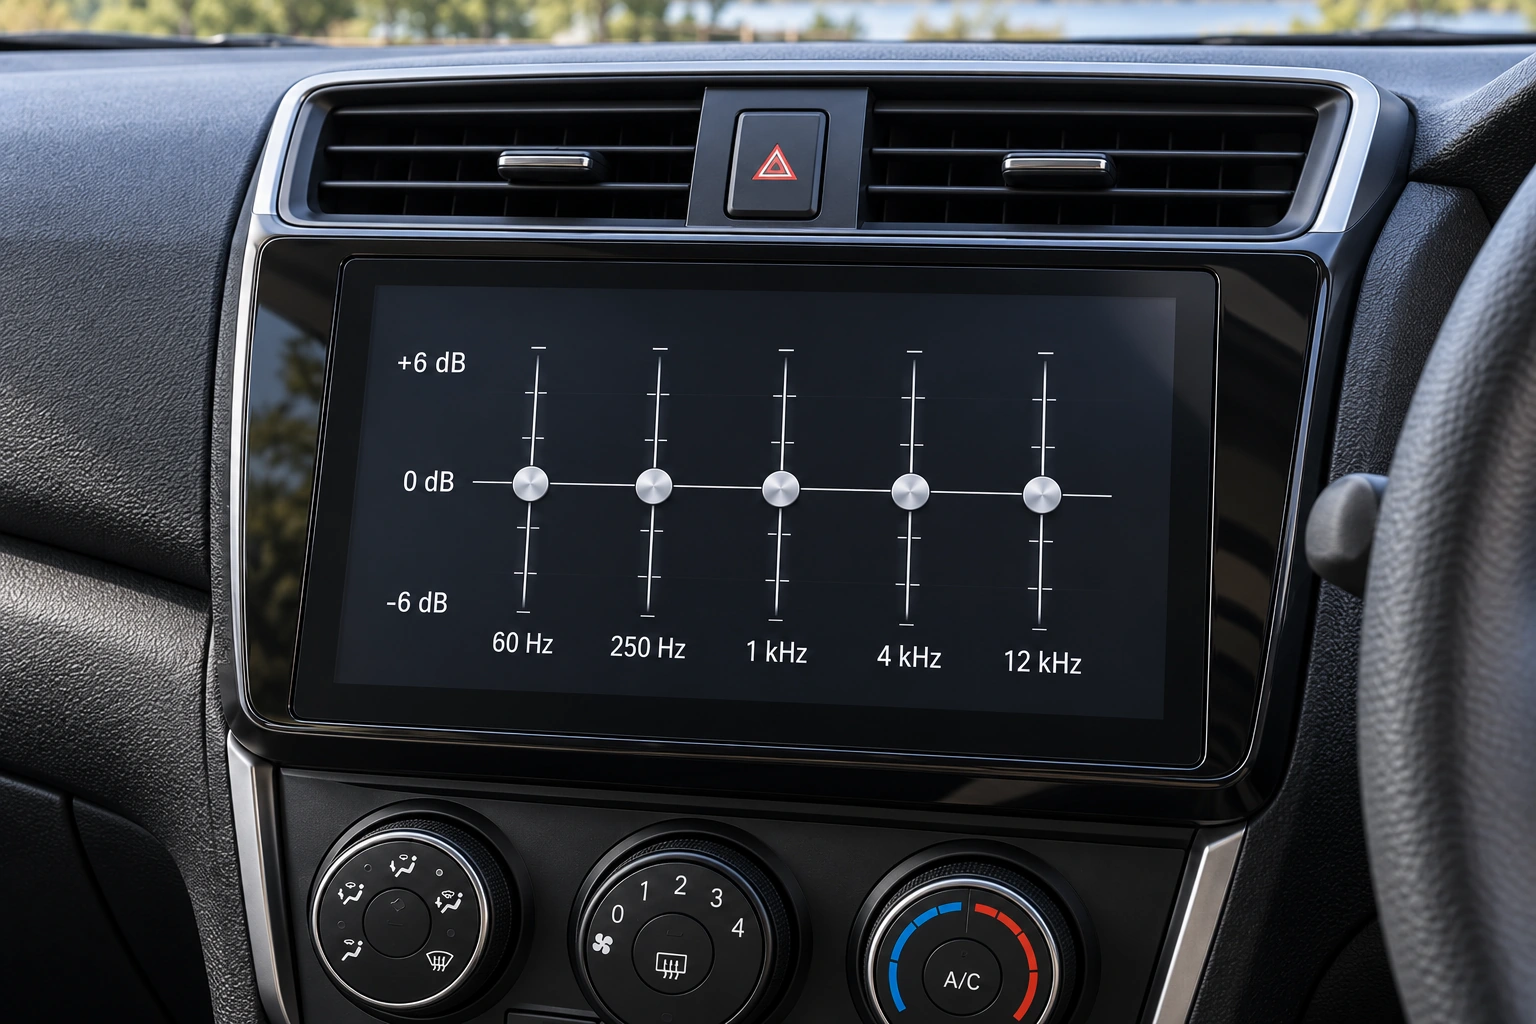
In this example, all bands sit at 0 dB as a neutral reference. It is a comparison point for the exercise, not a claim that every device has the same factory settings. Consult the equipment manual for the meaning of presets such as Flat.
The Pioneer audio manual explains equalizer curves and Flat in the context of its model. Use the manual for your own head unit to learn how to select and save settings, because menu names and capabilities can differ.
If the device has no separate memory for the reference, photograph or record the starting values. Include every band rather than only the portion visible on one screen. A recoverable baseline makes later experiments easier to interpret.
Change one thing and listen again
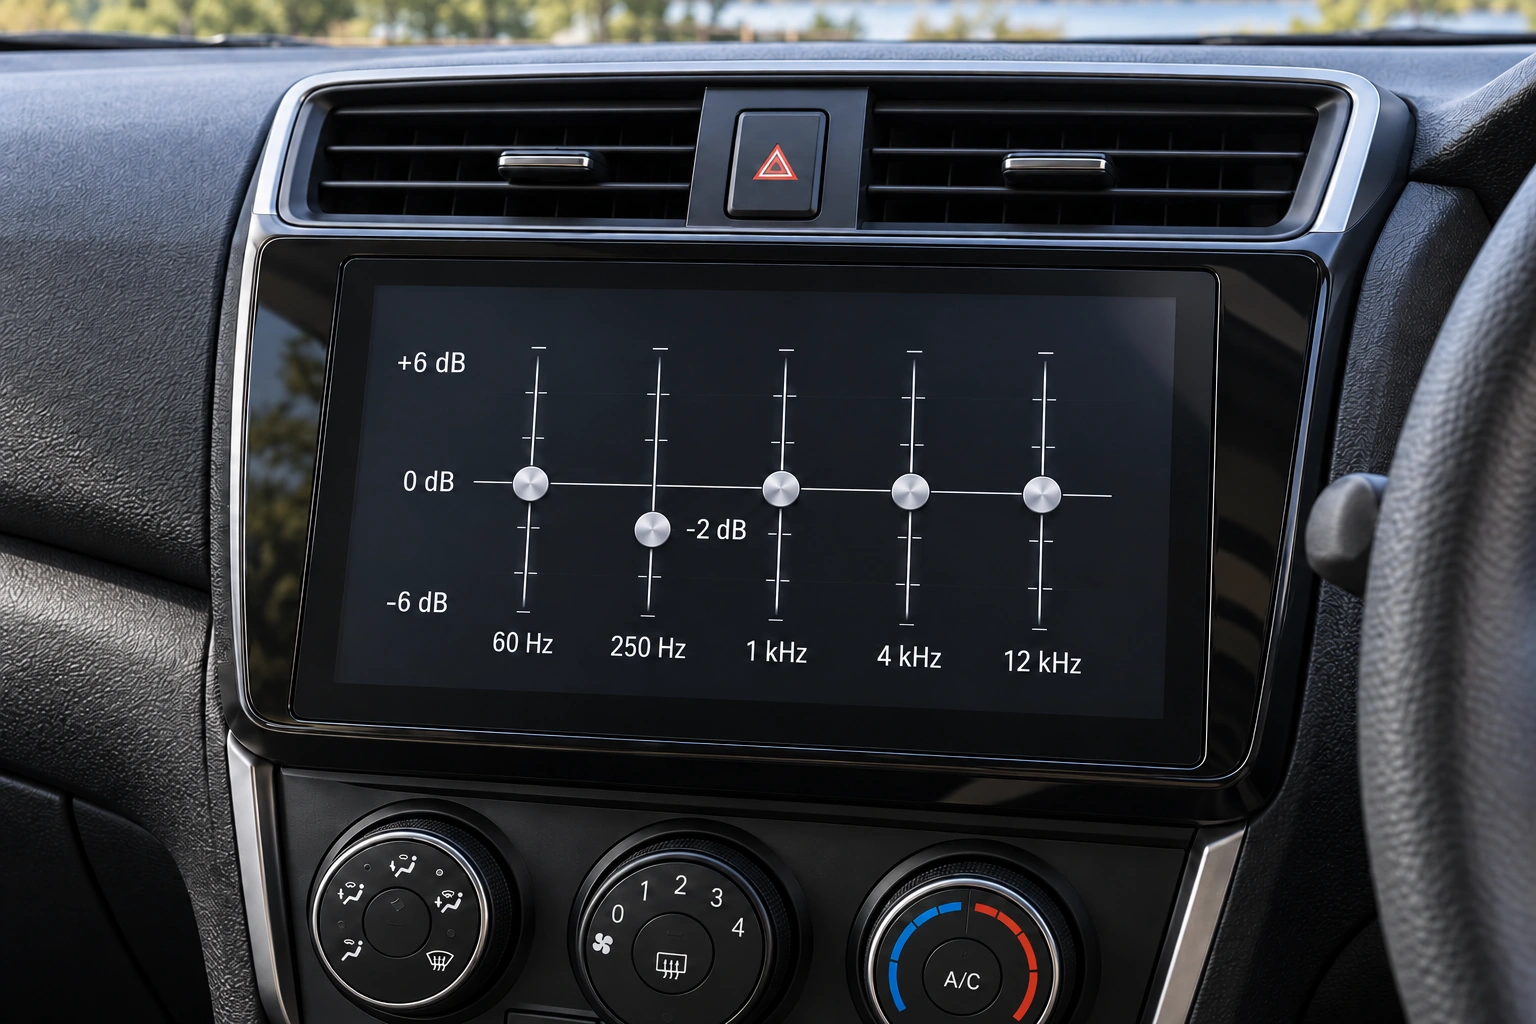
For an example exercise, one 250 Hz band is reduced by 2 dB while the others remain at the reference. This only demonstrates a small, comparable change. It is not a setting recommended for every cabin or system. Select the part you want to explore and adjust it conservatively.
Replay the same recording section from the same point. Compare it with the baseline and describe what changed: are vocals easier to understand, has a particular part reduced, or does the result sound thinner? Use descriptions of the experience rather than only “better”.
If the difference is unclear, return to the baseline. An adjustment does not need to be retained merely because it was made. Avoid changing several bands until it becomes impossible to tell which change helped or harmed the result.
Keep the listening position and source comparable
Listen from the seat normally used. A result in the driver’s position can differ from the passenger seat. When several people use the system, discuss the goal so settings are not repeatedly changed from different positions without any record.
After finding a useful adjustment, try more than one recording. One track may have a distinctive production balance. A curve that suits a single passage does not necessarily suit everyday listening.
Keep EQ evaluation separate from checking connections or speakers. Broken sound, a missing side or a rattle is not automatically an equalizer problem. Record the symptoms and request appropriate inspection rather than masking them with extreme settings.
Save changes for an identifiable reason
A simple note can include the source, seating position, comparison volume, changed band and what was heard. There is no need for an extensive log for every song. The useful part is being able to explain why an adjustment was retained.
If several preset memories are available, give them recognisable names. Avoid calling a preset a universal genre setting based on one trial. A personal preference can be stored without turning it into a rule for other listeners.
When comparing with the baseline, check that source processing has not changed unnoticed. Application volume or normalisation can affect the judgement. Repeat only the part needed to resolve a specific uncertainty rather than endlessly changing settings without a question.
Know when an inspection would help
If the result remains unsatisfactory despite controlled changes, bring the notes and examples of the symptoms. Equipment details, speaker information and previous installation work help a technician understand the context. Maximum boost should not be the sole measure of success.
Read choosing car speakers and placement for factors beyond EQ. When consulting Hariman, describe the listening goal and the problem you hear. A saved baseline and one-change comparisons provide a clearer starting point for that discussion.